
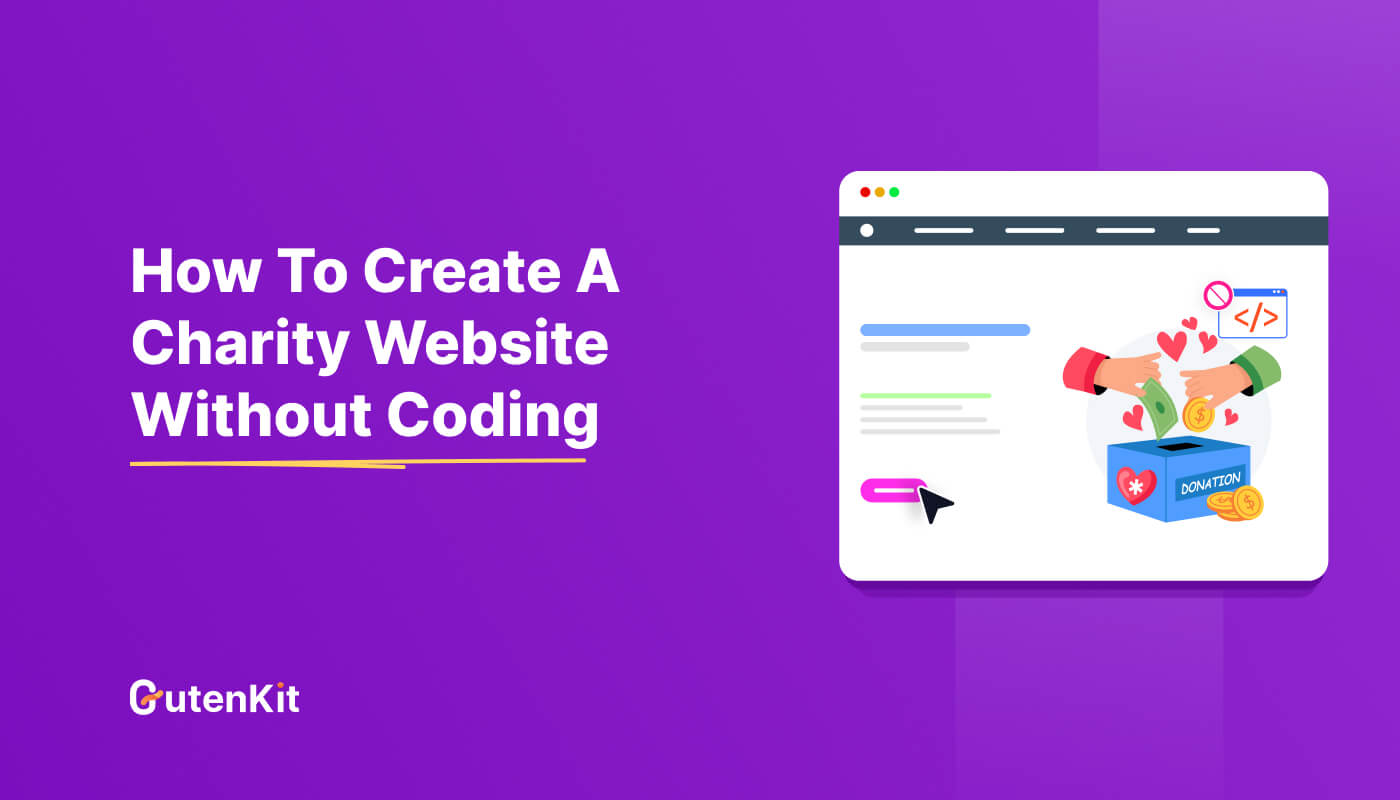
Creating a charity website doesn’t require any technical knowledge now. By combining the flexibility of WordPress with the powerful, drag-and-drop features of the GutenKit plugin, it’s super easy. Follow the steps below:
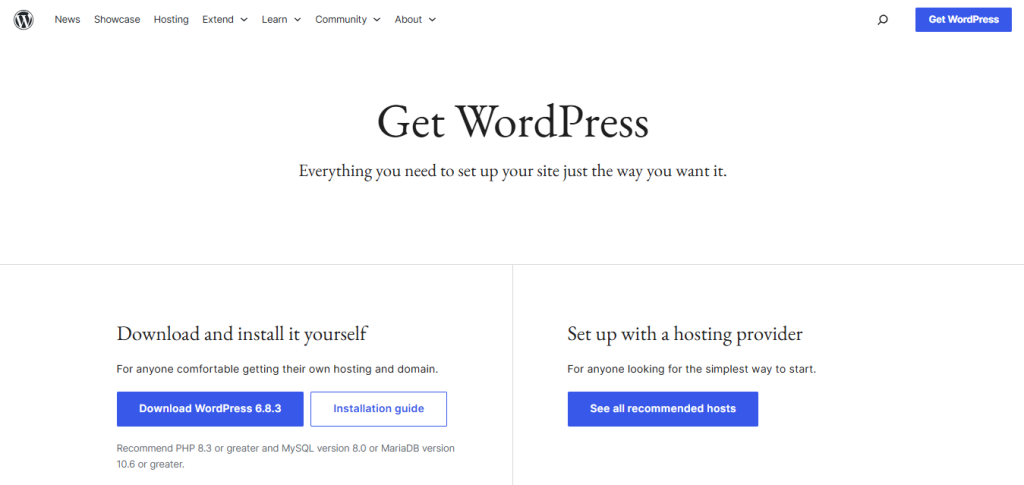
- Choose WordPress and set up your domain and hosting to build a reliable foundation.
- Install GutenKit to create pages quickly with drag-and-drop blocks.
- Pick a charity-ready template for an instant professional design.
- Customize key pages like Home, About, and Impact to show trust and results.
- Add secure donation features using a plugin like FundEngine.
- Optimize for mobile, apply subtle animations, and launch your site.
Table of Contents
Why Your Charity Needs a Professional Website
Well, no matter which organization you run, you have to prove your legitimacy in this modern era. So, for the charity website, it is of the same importance. A professional charity website acts as a 24/7 hub where potential donors can see your impact firsthand, read success stories, and feel confident that their contributions are going to a worthy, transparent cause. And beyond credibility, a website makes it incredibly easy for people to support your mission.
How to Create a Charity Website
Your charity mission deserves a beautiful online home. Let’s simplify the steps for you.
Step 1: Choosing the Platform
WordPress is the foundation we recommend; it’s a no-code platform built for easy management and incredible growth. It’s a dynamic digital canvas, offering limitless customization through thousands of specialized themes and plugins tailored for every community’s needs.
Getting started is simple:
- Domain: A domain is your website’s unique address on the internet (like example.com). People use it to find your site. Choose a name for your charity website, check availability, and register it from providers like Namecheap, GoDaddy, or Google Domains.
- Hosting: Hosting is the server space where your website files are stored, making your site accessible online. Sign up for a hosting plan and connect your domain. Popular providers include WP Engine, SiteGround, and DreamHost.
Step 2: Laying the Foundation: Why GutenKit?
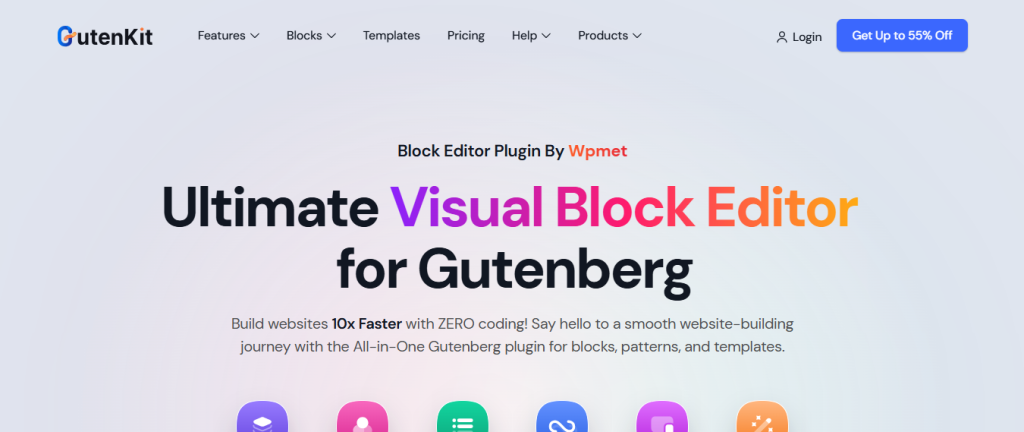
Before you start building, you need a powerful, flexible, and fast platform. WordPress, combined with GutenKit, is the ideal choice for non-profits for three key reasons.
- No coding is required! GutenKit provides an intuitive drag-and-drop experience directly within the familiar WordPress editor.
- It offers superior performance. As GutenKit is built to be lightweight, it ensures your website loads fast, critical for keeping visitors engaged and improving SEO.
- Also, the plugin is cost-effective. WordPress is free, and GutenKit offers robust features and pre-designed elements, saving your charity a valuable budget.
So, install and activate the GutenKit plugin from the WordPress repository.
Get GutenKit Pro and get the entire collection of GutenKit’s exclusive, premium design elements.
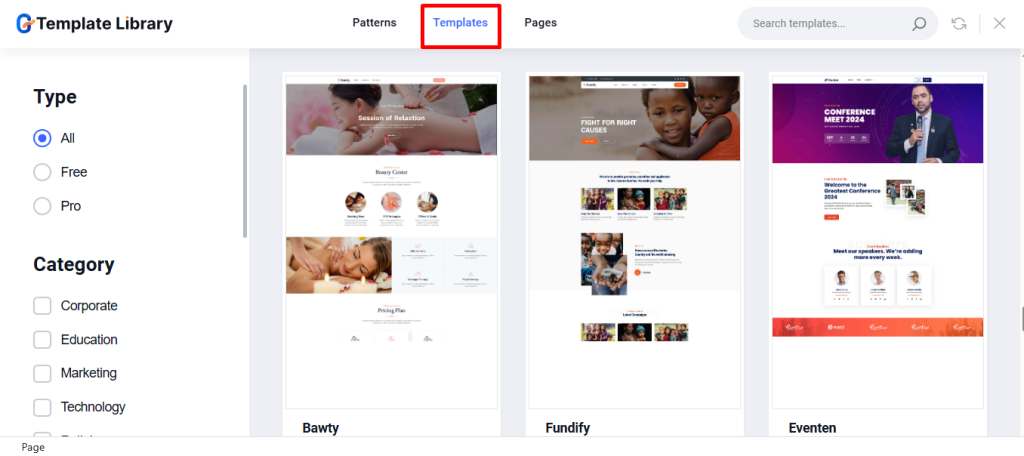
Step 3: Choosing the Suitable Template
Using a ready WordPress template is the fastest way to launch a professional charity website. GutenKit offers a massive library of pre-designed templates and patterns that are Full Site Editing (FSE) compatible. You just look for a template pack specifically designed for Charity, Non-Profit, and Donation organizations to get the essential pages you need instantly.
Step 4: Building Essential Charity Pages with GutenKit Blocks
Once your template is inserted, you need to customize the content using GutenKit’s specialized blocks to ensure maximum impact.
Homepage
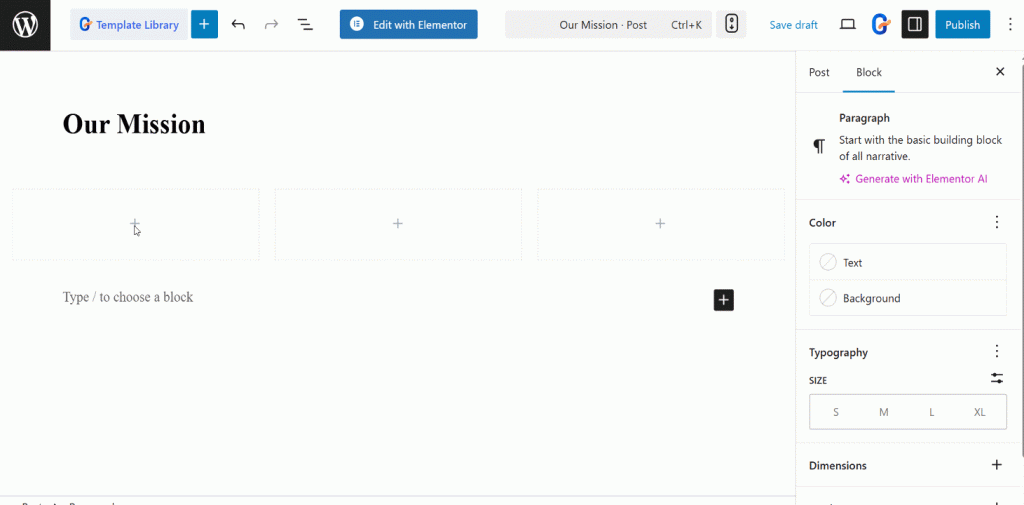
For your homepage, pick the GutenKit Container Block to create flexible, multi-column layouts for sections. You can design sections like Our Mission, Latest News and others easily. This block defines the visual flow and hierarchy of your most important information.

GutenKit offers blocks like image box, header info, button, etc. to help you customize the page based on your preferences.
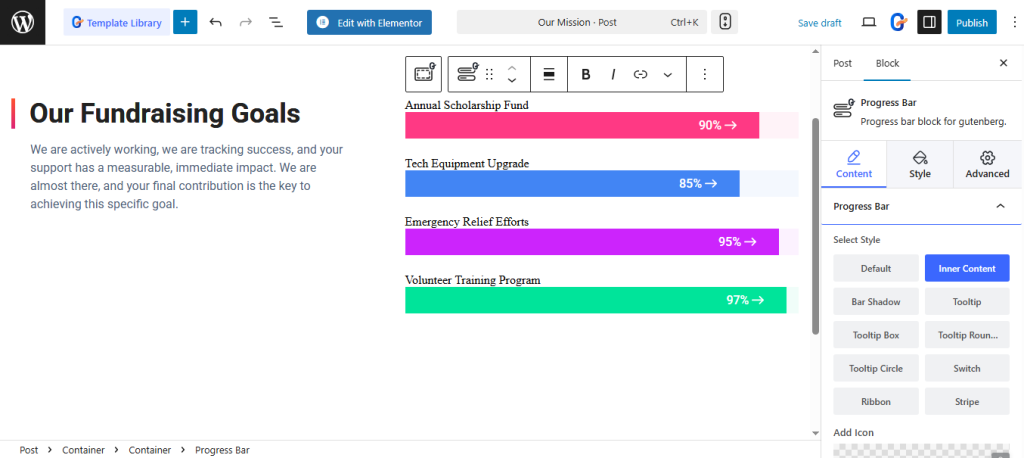
Impact Page
The impact page directly addresses donor accountability by showing measurable proof of the charity’s effectiveness. This is crucial for building transparency and motivating future donors by showing concrete results.
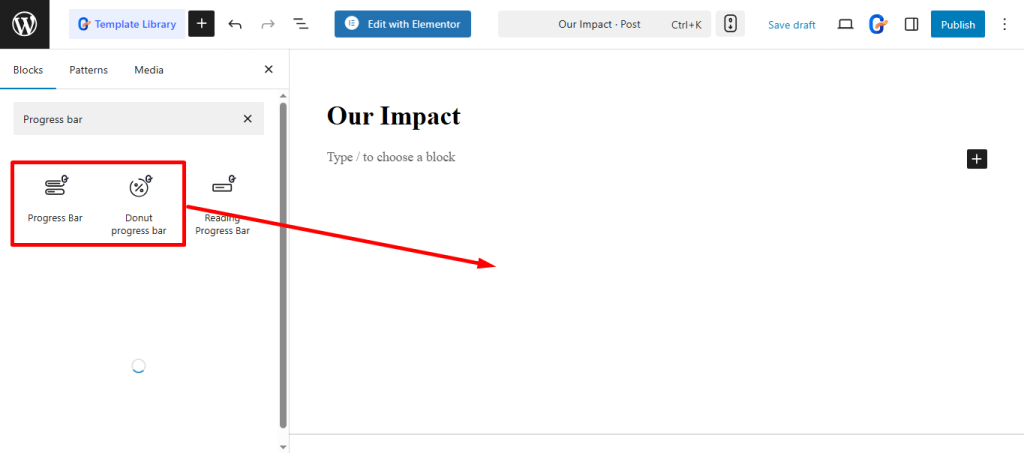
To design the impact page, you can use the GutenKit Progress Bar block or Donut Progress Bar block to showcase fundraising goals achieved or community metrics visually. Just choose the block and drag and drop it.
Say, your site is for the education of street children. On the impact page, you can demonstrate through progress bars that you’re actively working. Show that you’re tracking success, and your support has a measurable, immediate impact. You’re almost there, and your final contribution is the key to achieving the specific goals.
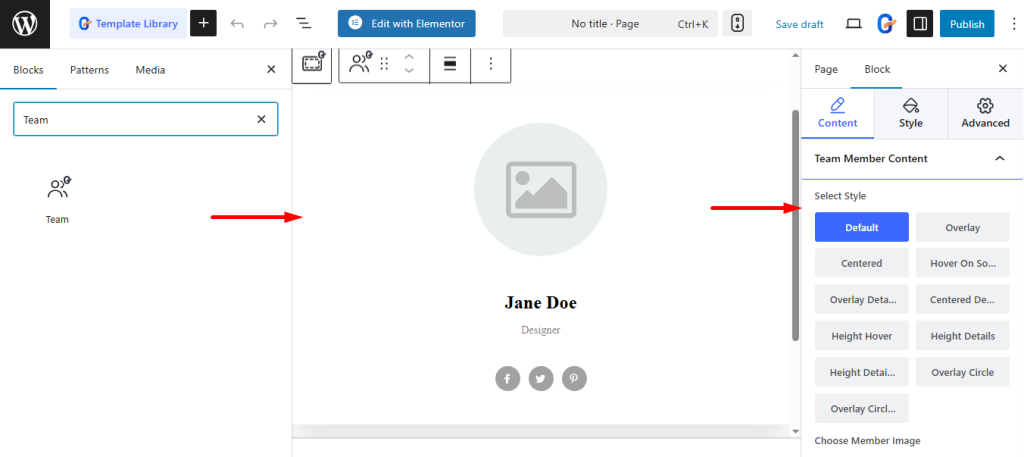
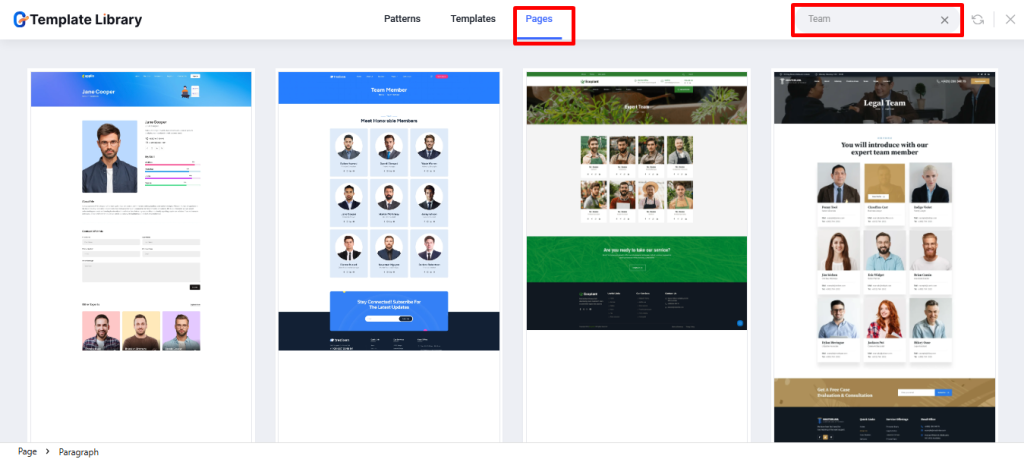
Team page
Having a team page will build trust by introducing the people behind the mission. When introducing your organization, utilize the GutenKit Team Block for your Team page. It helps you to introduce your board, staff, and beneficiaries, adding a personal, trustworthy face to your organization.
Find the team block and drag and drop it into the editor. Start customizing the element as per your needs.
For a faster start, simply choose any pre-built GutenKit template from the library. Select your favorite, and begin customizing its structure and design instantly.
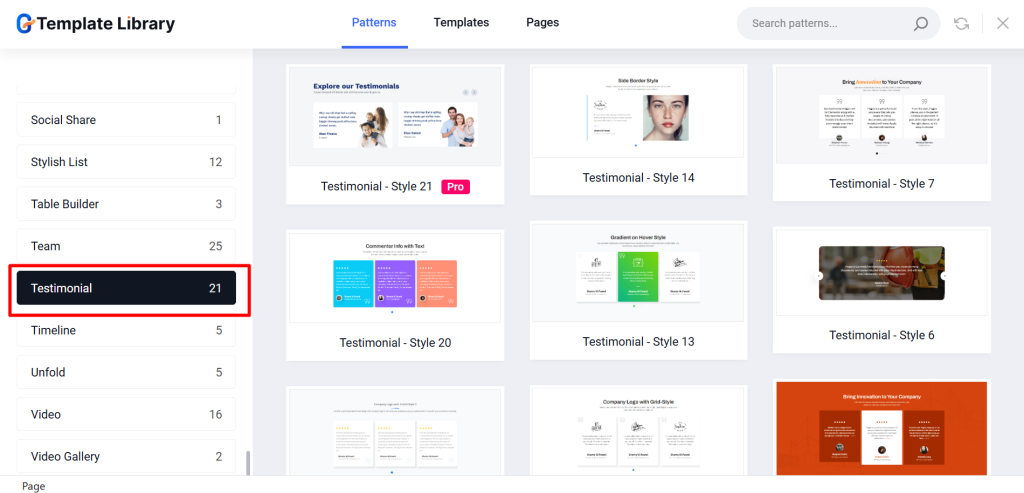
Testimonial page
70% of people trust reviews and recommendations from strangers. (Nielsen)
The testimonial page lends credibility by showcasing positive feedback and real-world results. The page-building process is easy! Quickly find the Testimonial block and move it into your canvas to start immediate customization. Alternatively, select any pre-built GutenKit Testimonials template to launch your design process instantly.
Browse the testimonial patterns to see various designs and choose the layout that best showcases your supporters’ praise.
Events Page
Finally, for your events page, utilize the Countdown Timer Block to create urgency for upcoming fundraising events or deadlines, which drives immediate action and attendance for critical dates. Or, simply choose a ready pattern from the designs.

FAQ Page
A FAQ page clears up common doubts and saves your team time answering repetitive inquiries. For your FAQ page, you’ll find a dedicated FAQ block and personalize it by utilizing the controls.
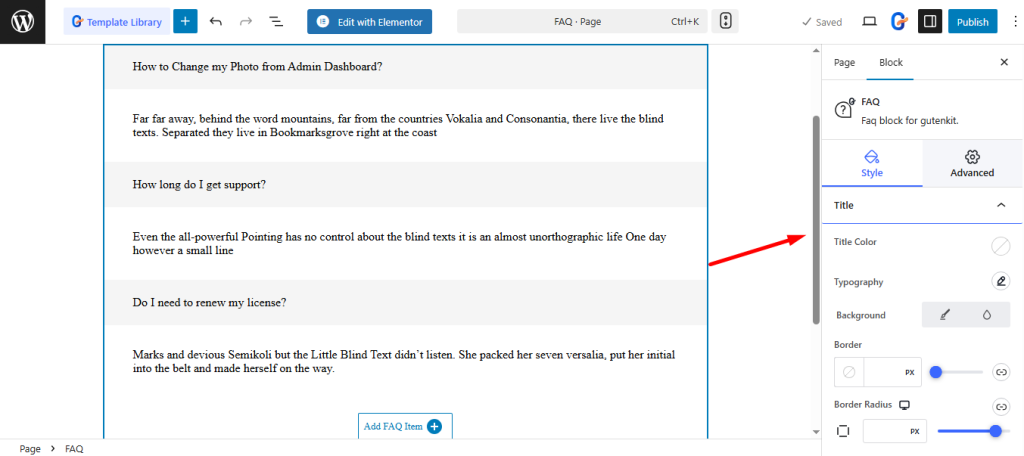
Of course, there are templates. Pick one that’ll let you organize common donor and volunteer questions quickly and more efficiently.
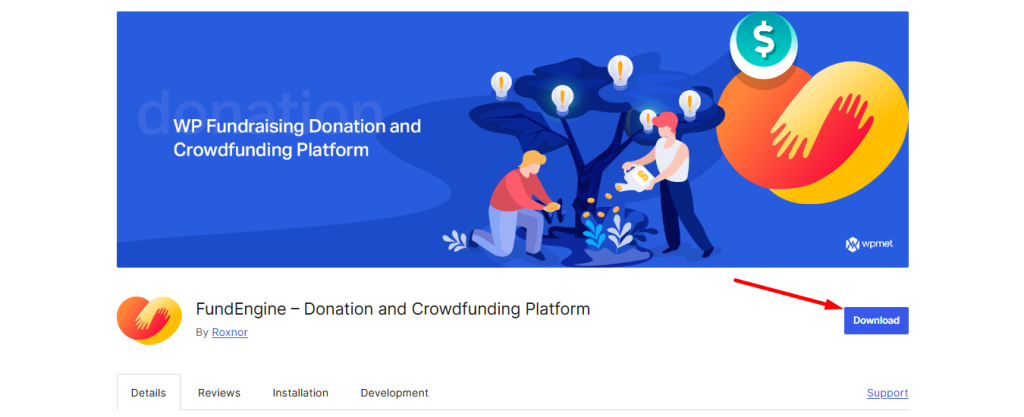
Step 4: Integrating the Donation Feature
A charity website’s primary function is to collect funds. While GutenKit provides the visual tools, you will need a dedicated donation plugin like FundEngine to handle payments securely. The no-code donation process involves three simple steps:
First, download and activate your preferred donation plugin.
Second, you need to create campaigns. You have the option to create both crowdfunding and single donation campaigns.
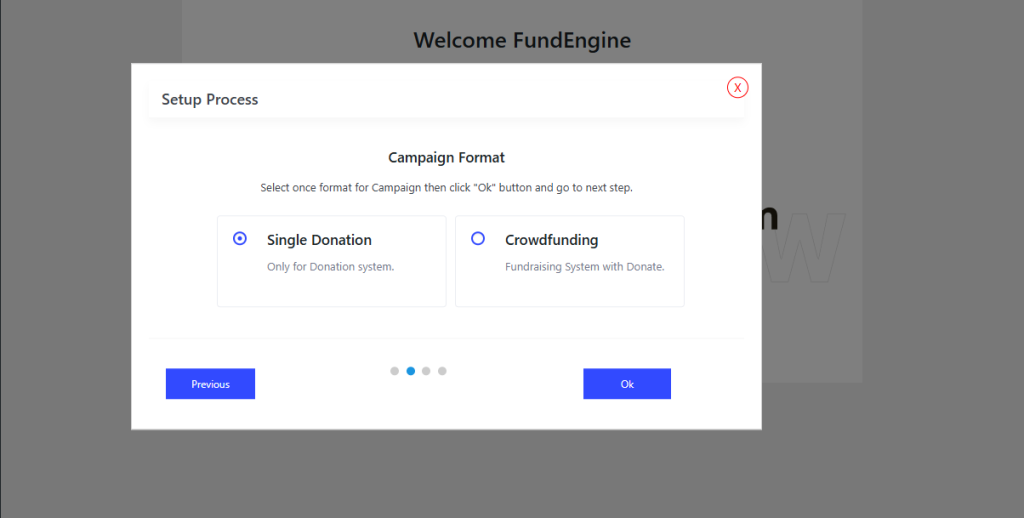
Learn to create 👉 Single Donation Campaign with FundEngine
Learn to create 👉 Crowdfunding with FundEngine
Third, embed the donation form from your payment plugin directly into a clean GutenKit container block for distraction-free giving. However, FundEngine also offers Default & WooCommerce Payment Gateways for you.
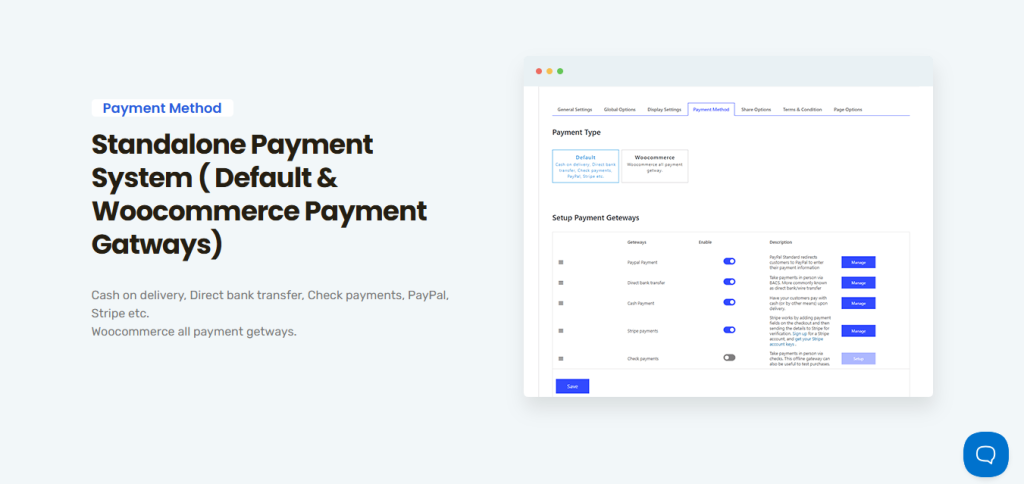
Guide to set up 👉 Default Payments with FundEngine
Step 5: Final Polish: Animations and Responsiveness
GutenKit helps you ensure your site looks professional on all devices and captures attention. Use GutenKit’s Custom Breakpoints feature to fine-tune the design for mobiles, tablets, and desktops. It’ll ensure volunteers and donors have a flawless experience on any device.

Additionally, you can add subtle motion to your key statistics or CTA buttons using GutenKit’s Motion Effects feature. This draws the eye without being distracting, highlighting essential donation or sign-up elements.
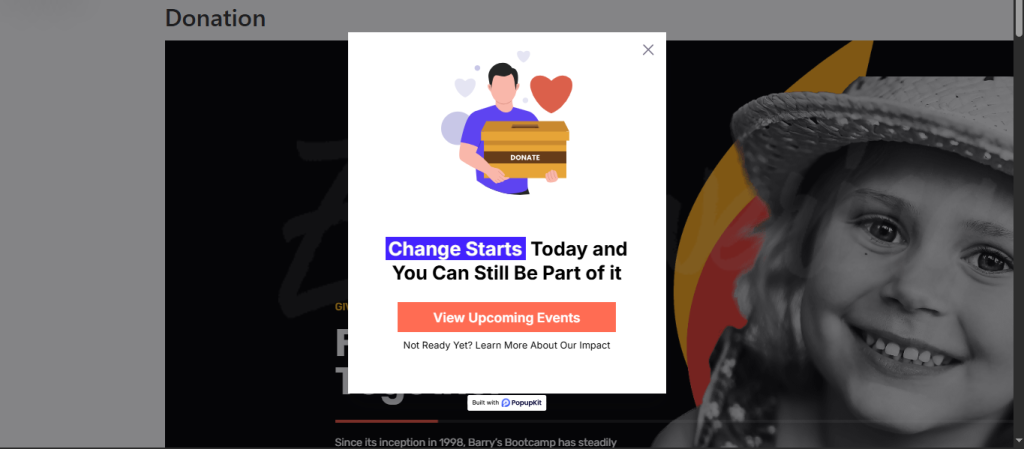
For time-sensitive campaigns or urgent fundraising, use PopupKit to easily create quick popups that capture immediate attention. You can also add a link to drive visitors directly to donation pages or emergency calls-to-action.
And you’re done! Recheck the designs and settings, then publish your site.
Read our comparison of the 8 Best WordPress Page Builders Compared
Conclusion
Creating a professional, effective charity website no longer requires a developer. By utilizing the power of WordPress’s native editor and the comprehensive, no-code features of GutenKit, you can launch a beautiful and fast site. Just follow these tips –
- Don’t just list goals; use high-impact photos and motion effects to tell the stories of those you serve.
- Ensure your donation form is clear, works on mobile, and requires minimal clicks.
- Use popups wisely. Reserve these for urgent, time-sensitive campaigns to maximize immediate donor attention.
Leave a Reply